
How to Cook Bacon in the Oven with Aluminum Foil? A Guide to Make Perfectly Crispy Bacon
Cooking bacon in the oven is a game-changer for many home cooks. This method offers consistent results, less mess, and the ability to cook larger quantities at once. Here’s a comprehensive guide to achieving perfectly crispy bacon using aluminum foil:
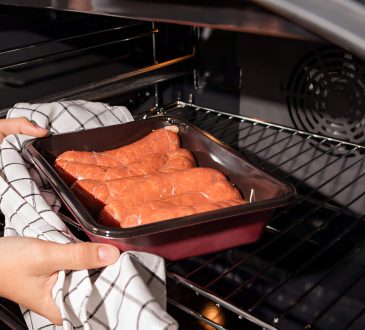
1. Preparing Your Oven and Baking Sheet
To begin cooking bacon in the oven using aluminum foil, start by preheating your oven to 400°F (200°C). This temperature ensures that the bacon cooks evenly and achieves the desired crispiness. While the oven is heating up, prepare your baking sheet. Take a large, rimmed baking sheet and line it completely with aluminum foil. The foil serves two purposes: it makes cleanup easier and helps to conduct heat evenly.
Next, create foil edges by folding the excess foil up and around the edges of the baking sheet. This step is crucial as it will contain the bacon grease, preventing it from spilling over and causing smoke in your oven. The raised edges also help to keep the bacon flat during cooking, resulting in more uniformly cooked strips.
By following these preparation steps, you’re setting the stage for perfectly cooked bacon with minimal mess and maximum flavor. The aluminum foil method not only simplifies the cooking process but also ensures that your bacon turns out crispy and delicious every time.
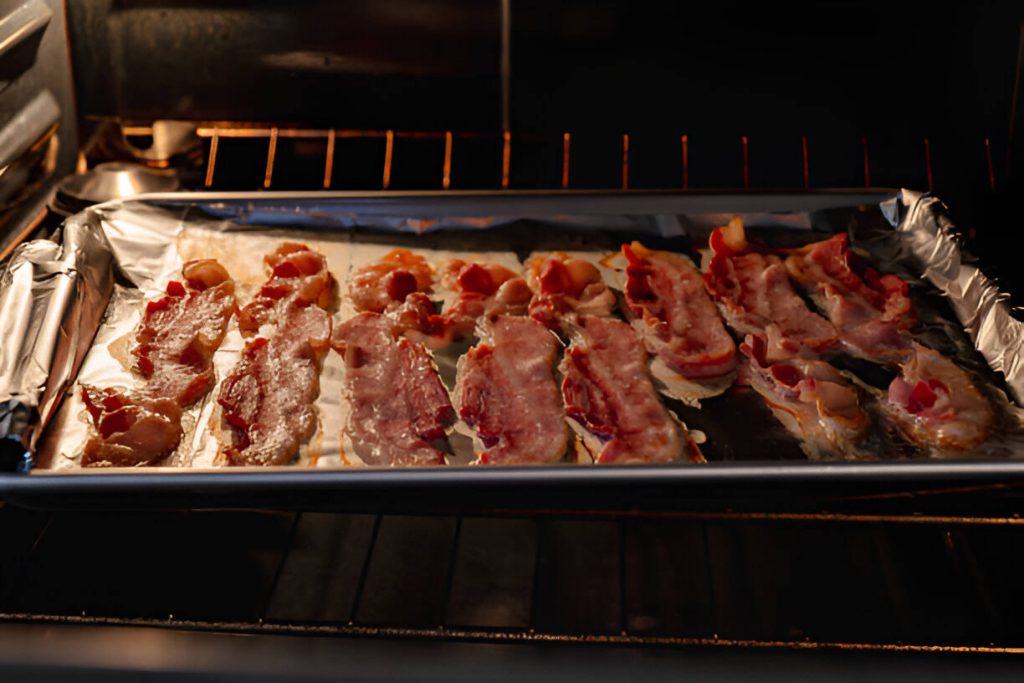
2. Arranging the Bacon for Optimal Cooking
Proper arrangement is key to achieving perfectly crispy results. Start by lining a baking sheet with aluminum foil, ensuring it extends slightly over the edges to catch any grease. Next, lay the bacon strips flat on the foil-covered sheet. It’s crucial to avoid overlapping the strips, as this can lead to uneven cooking and potentially soggy bacon.
For optimal cooking, leave a small amount of space between each strip. This spacing allows hot air to circulate evenly around the bacon, promoting uniform crispiness. Depending on the size of your baking sheet and the amount of bacon you’re cooking, you may need to use multiple sheets to avoid overcrowding.
Remember that as the bacon cooks, it will shrink slightly, so don’t worry if the strips are close together at the start. By following these arrangement tips, you’ll ensure that each piece of bacon cooks evenly and achieves that perfect crispy texture that makes oven-baked bacon so delicious.
3. Setting the Temperature and Cook Time
Setting the right temperature and cooking time is crucial for achieving perfectly crispy results. Preheat your oven to 400°F (200°C), which is the ideal temperature for bacon. This high heat allows the fat to render quickly while crisping the meat.
Place the foil-lined baking sheet with bacon in the preheated oven and set your timer for 15-20 minutes. The exact cooking duration will depend on the thickness of your bacon slices and your desired level of crispiness. Thicker cuts may require up to 25 minutes, while thinner slices might be done in as little as 12 minutes.
To ensure your bacon cooks evenly, rotate the baking sheet halfway through the cooking process. Keep a close eye on the bacon as it approaches the end of the cooking time, as it can quickly go from perfectly crispy to burnt.
Check for doneness by looking for a golden-brown color and a crisp texture. Remember that the bacon will continue to crisp slightly as it cools, so it’s best to remove it from the oven when it’s just shy of your desired crispiness. Once done, transfer the bacon to a paper towel-lined plate to absorb excess grease before serving.
4. The Cooking Process
When cooking bacon in the oven with aluminum foil, understanding the process helps achieve optimal results. As the bacon heats up, it begins to render its fat, causing the strips to shrink. This shrinkage is normal and contributes to the bacon’s crispy texture. The rendered fat collects on the foil, preventing the bacon from sitting in excess grease.
Typically, bacon takes about 15-20 minutes to cook in a preheated oven, but this can vary depending on your desired crispiness and the thickness of the bacon. For chewier bacon, remove it from the oven earlier; for extra crispy results, leave it in a bit longer. Keep a close eye on the bacon during the last few minutes of cooking, as it can quickly go from perfectly crisp to overcooked.
The aluminum foil plays a crucial role in this method, reflecting heat and promoting even cooking. It also makes cleanup a breeze, as you can simply fold up the foil with the excess grease once the bacon is done. Remember to let the bacon rest on paper towels for a minute or two after cooking to absorb any remaining fat, ensuring that perfect crispy texture.
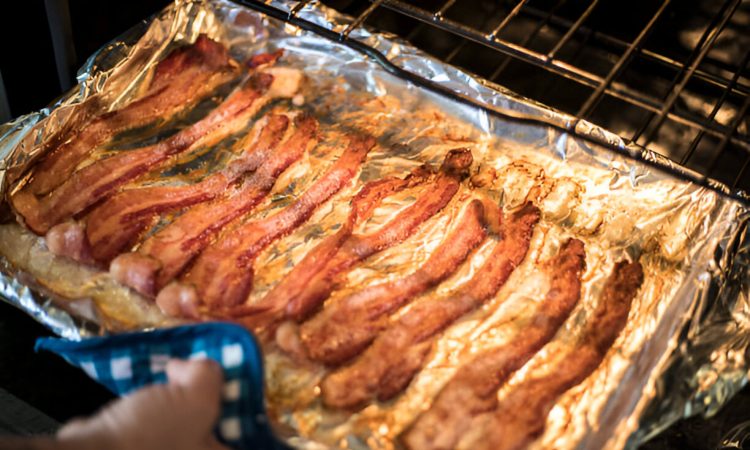
5. Removing and Draining the Cooked Bacon
Once your bacon has reached the desired level of crispiness, it’s time to remove it from the oven and drain off the excess grease. Using tongs, carefully transfer each strip of bacon from the aluminum foil to a plate lined with paper towels. The tongs will help you avoid burns from hot grease and prevent the bacon from breaking as you move it.
As you place the bacon on the paper towels, allow it to rest for a minute or two. During this time, the paper towels will absorb much of the excess grease, resulting in a less oily final product. For even more thorough grease removal, gently blot the top of each bacon strip with additional paper towels.
This draining process is crucial for achieving the perfect bacon texture. It helps remove any residual grease that might make the bacon soggy, ensuring that each piece maintains its delightful crispness. Once you’ve completed the draining and blotting, your oven-baked bacon is ready to be served and enjoyed.

